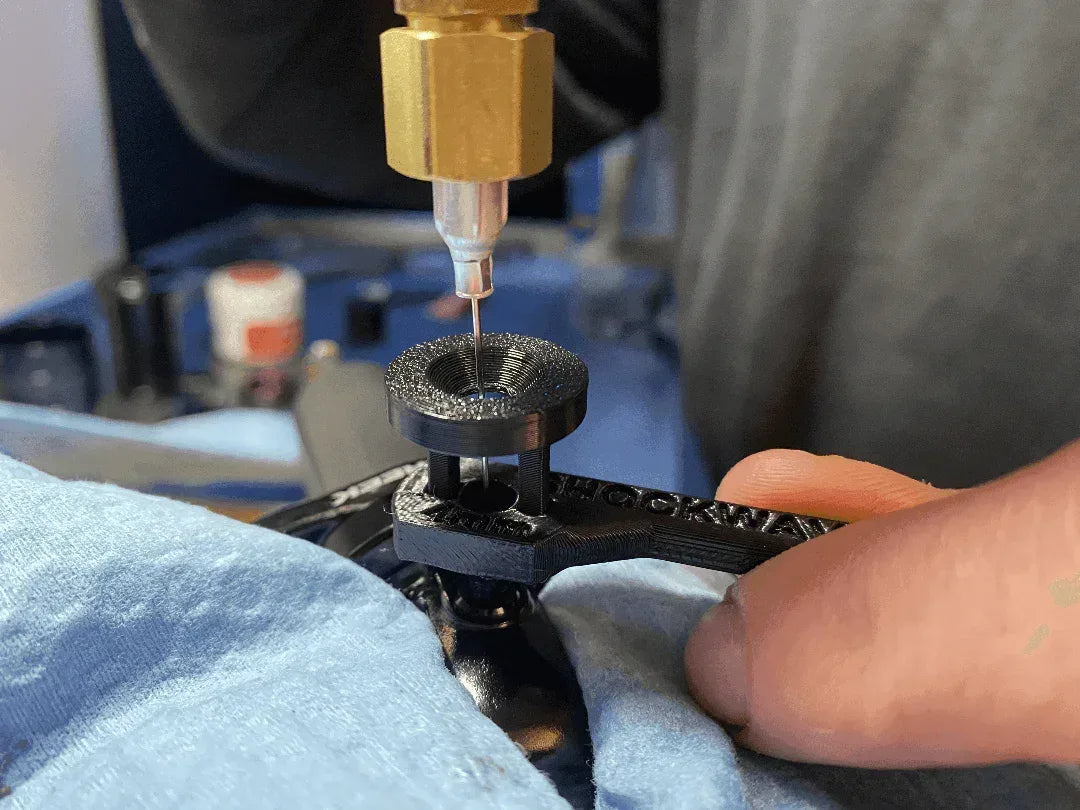
Shockwave Parts
Cane Creek DB Inline Coil Rebuild Tool Kit (2023+)
Cane Creek DB Inline Coil Rebuild Tool Kit (2023+)
Couldn't load pickup availability
Cane Creek DB Inline COIL 2023+ DIY Rebuild Kit
All the custom 3D-printed tools you need to fully service your DB IL Coil shock at home. No pro shop required.
The DB IL Air 2017 is shown in the pictures, but the internal layout and service approach are nearly identical.
Compatibility
- Cane Creek DB Inline Coil (2014–2022)
- Compatible with Gen 2 (2023+) for a basic service without opening the bladder
- Contact us if you want help confirming clamp compatibility with the newer body, we can provide the updated clamp if needed
What’s Included
Very few custom tools are required for this shock.
- Shaft Clamp for eyelet removal
-
Low Torque Pellet Retainer Tool (2×)
- If your shock is trunnion-mounted, this tool is not required, only the shaft clamp is needed
What You Still Need (Not Included)
See our Essential Tools page for common tools used across many shocks.
- Park Tool SPA-2 Pin Wrench (2.4 mm pins fit the damper body holes)
- Trunnion Shock Vise Holder for trunnion-mounted shocks
- Bench vise or soft jaws
- Syringe and bleed tube (any brake bleed kit)
- Needle fill adapter for bladder pressurization
- Shock oil and model-specific seal kit
- Torque wrench or luggage scale
- Custom Pin Socket Wrench (16 cm holes for luggage scale use)
Special Notes
- Do not insert the SPA-2 pins into the threads; always align with the dedicated holes
- Do not open the adjusters unless they are leaking externally, they are well-tuned and easy to misassemble
- The bleed screw sits under the climb lever plate; the lever must be removed for access
- The shock uses a screw-in inner tube; it can be carefully rotated using a screwdriver through the cross-holes
- Use red Loctite on the inner tube threads if opened, and do not over-tighten
How to Bleed This Shock (Read Carefully)
This is the most important part of the rebuild.
This is a twin-tube damper with no piggyback reservoir. Both glove technique and a final syringe bleed are required.
- Use a standard bleed syringe with rubber tube
- Open all adjusters fully
- Gently push the tube into the bleed port and hold it steady
- Apply light vacuum and pressure, allowing oil to return
- Stroke the shock while pressurizing the syringe
- Repeat several cycles and tap the body to release trapped air
The damper should no longer make sloshing noises when done. Glove bleed alone is not sufficient for this shock.
Additional Resources
Disclaimer
Designed for skilled DIY users working in a safe environment. Always fully depressurize before service, follow torque specs, and confirm proper tool engagement. Improper use may damage your shock or cause injury. By using this kit, you agree to our Terms of Service.
Share