Shockwave Parts
RockShox Vivid Coil Rebuild Kit (2025+)
RockShox Vivid Coil Rebuild Kit (2025+)
Couldn't load pickup availability
RockShox Vivid Coil (2025+) Full DIY Rebuild Toolkit
This kit is for RockShox Vivid Coil 2025+. It shares architecture with the 2023+ Super Deluxe family, but there are enough differences that it deserves its own page to keep procedures and specs clear.
What’s Included
Everything else is standard shop stuff: Allen keys, strap wrench, bleed syringe, and a shock pump.
Safety Disclaimer (Read First)
WARNING: This shock contains high-pressure systems.
- Always fully release damper pressure before opening the reservoir or sealhead
- Release any air pressure slowly (do not dump pressure instantly)
- Open all external adjusters before bleeding
- Serious injury is possible if pressurized components are disassembled
This kit is intended for experienced home mechanics only.
Follow the official RockShox Vivid Coil 2025+ service manual whenever you are unsure.
Technical Notes & Compatibility
-
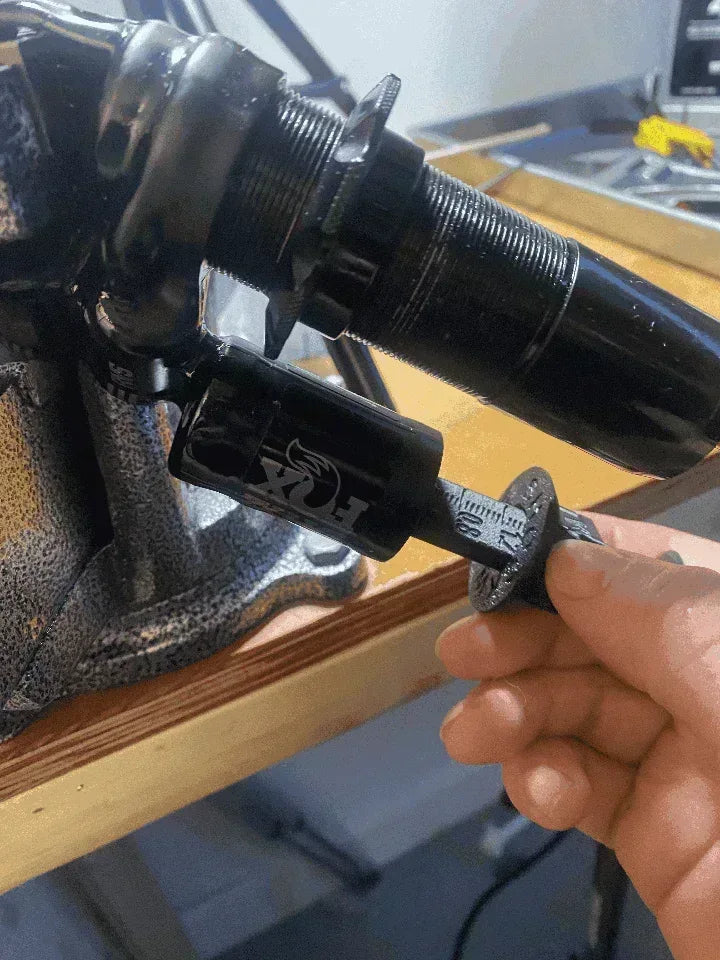
No pin wrench needed: you open the sealhead using 10" Knipex pliers
- Counter-Measure: if your shock is labeled "Counter-Measure", the Negative Spring Compression Tool is mandatory for safe reassembly
This is not a “universal Vivid” kit. It’s for Vivid Coil 2025+ specifically.
Required Extras (Not Included)
To re-pressurize the damper with a standard shock pump, you need a RockShox IFP air valve adapter:
RockShox IFP Air Valve Adapter on Amazon
A Schrader valve core remover is mandatory.
Other basics still required:
- Shock pump
- Bleed syringe + a proper M5 brake bleed fitting (for the bleed port)
- 10" Knipex pliers
- Common hand tools (Allen keys, strap wrench, etc.)
If you need seals, here is an updated and inexpensive aftermarket seal kit.
IFP Depth, Damper Pressure & Oil
- Base / Select: 35 mm reservoir · 200 psi · Maxima Plush 7 wt
- Select+ / Ultimate / Ultimate DH: 41 mm reservoir · 200 psi · Maxima Plush 7 wt
-
Flight Attendant:
- 37.5–65 mm stroke → 33 mm IFP depth
- 67.5–75 mm stroke → 39 mm IFP depth
Fill through the bleed port using a proper M5 brake bleed fitting.
If you are bleeding with a fitting + syringe and you are not using the compression tool, IFP depth must be corrected:
Adjusted IFP Depth = Base IFP Depth − [(6.35² × Shaft Lost) / (Reservoir Radius)²]
Only use this equation if you are bleeding through the port with a fitting and syringe. If you are using the compression tool as intended, use the base depth.
Sealhead Torque Warning
RockShox lists sealhead torque values around 30–34 Nm. That is unnecessarily high and increases the chance of damage.
- The O-ring does the sealing
- Fine threads generate huge clamping force with little rotation
- Overtorque can strip threads, crack parts, or break tools
In this video (20:15), even the mechanic avoids torquing to 34 Nm because the required force is excessive.
Recommended: stay around 20–25 Nm.
Use the Torque Calculator to convert torque to pull force for your wrench length.
Resources
- Sealhead Negative Spring Compression Tool
- M5 IFP Puller
- IFP Depth Tool
- 1/2" Shaft Clamp
- Luggage Scale Torque Calculator
- Essential Tools Starter Pack
- Other Non-Printable Tools
- Terms of Service
All tools are designed for home use only.
Share