Tracked shipping in Canada starts at $8.49 - maximum $14.99 📦
Free shipping in Canada over $89CAD - save on delivery 🚚
🌍 Free international shipping over fixed order price - fast worldwide delivery ✈️
⚡ Fast order processing - ships from Canada in 1 business day
🌍 Worldwide Shipping, Taxes & Free Shipping Thresholds
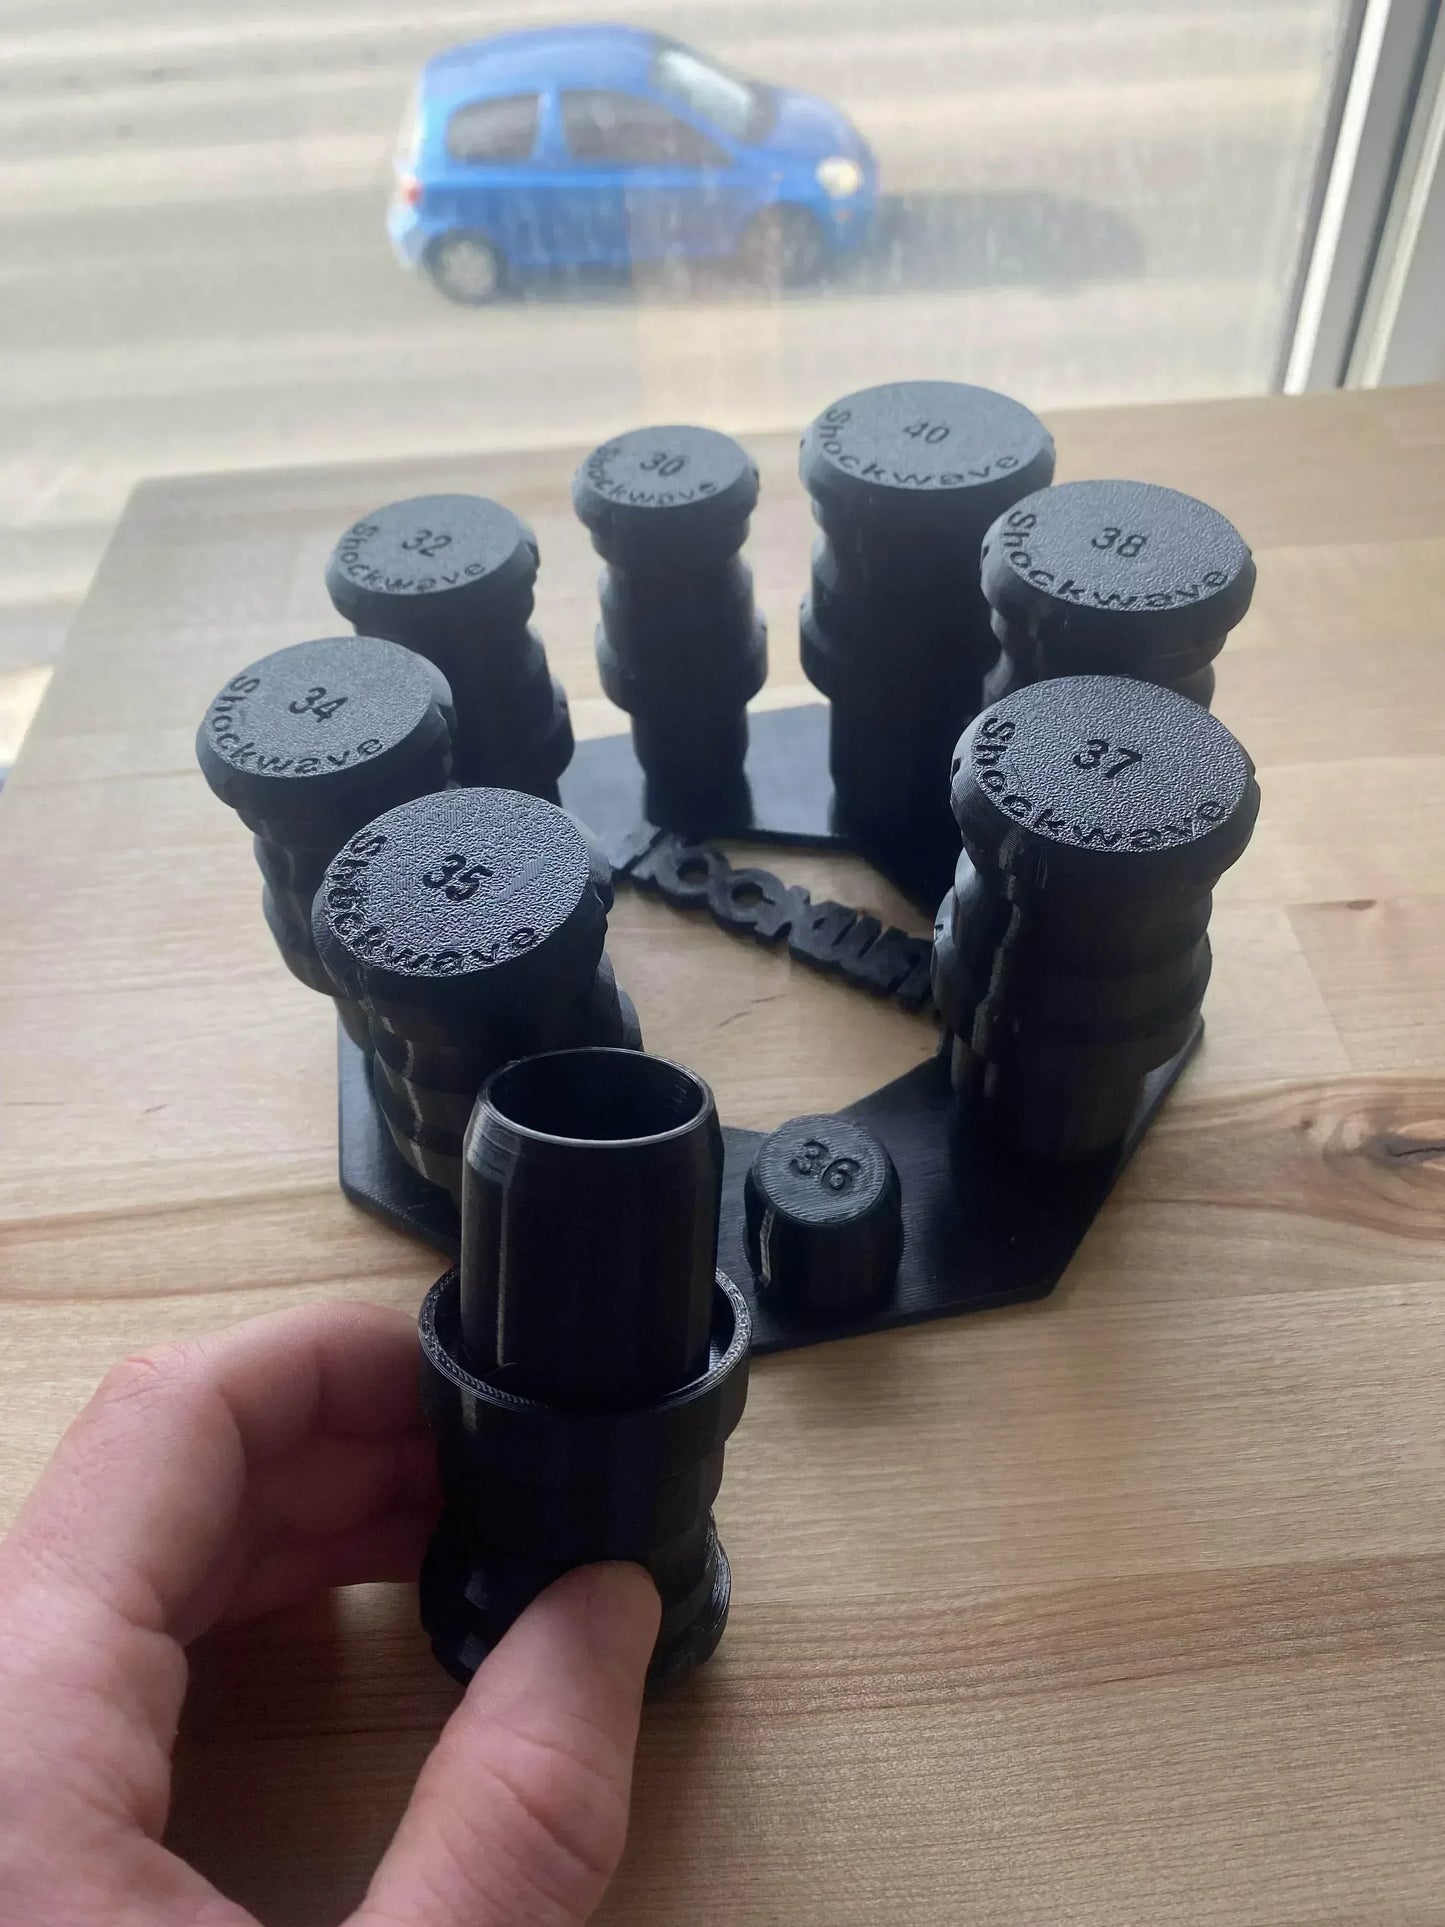
Shockwave Parts
Couldn't load pickup availability
Everything you need to fully service your RockShox damper, air spring, and dust wipers at the 200-hour interval. This bundle combines our Air Shaft + Lower Leg Toolkit and our Charger Damper-Only Toolkit.
ZEB, Lyrik, and Pike (Ultimate & Select+) from 2023+ all use one of these dampers.
Use our Shaft Clamp Guide and Large Clamp Guide for proper technique.
RockShox procedures require attention and precision. Use at your own risk. See our Terms of Service for full details.