Shockwave Parts
RockShox Charger 3/3.1 Damper Rebuild Tool
RockShox Charger 3/3.1 Damper Rebuild Tool
Couldn't load pickup availability
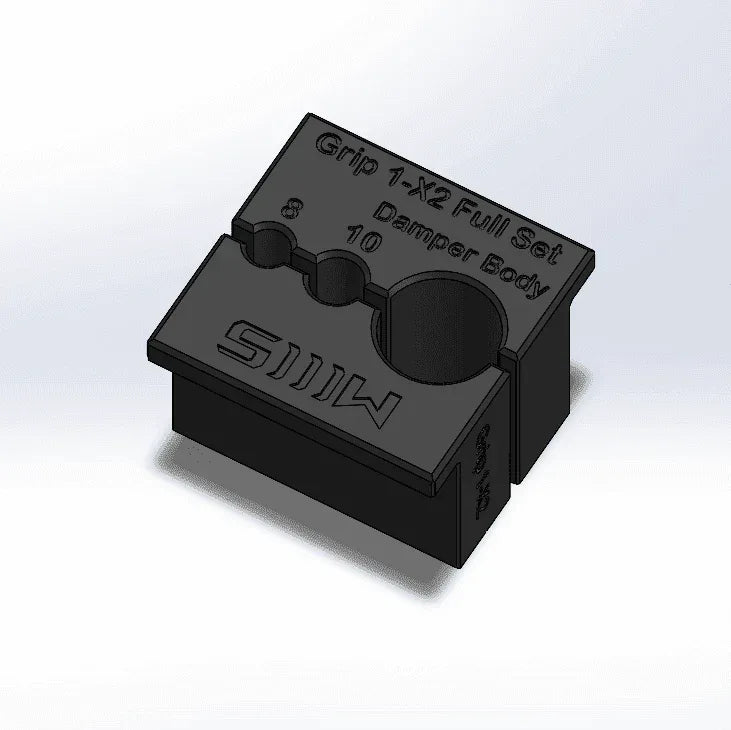
RockShox Charger 3 & 3.1 Damper-Only DIY Rebuild Toolkit
All the tools you need to fully open the RockShox Charger 3 or 3.1 damper cartridge, designed for people who already have the lower-leg and air-spring tools. This is for the damper only.
ZEB, Lyrik, and Pike Ultimate / Select+ (2023+) all use one of these dampers.
Need Seals?
Included & Recommended Extras
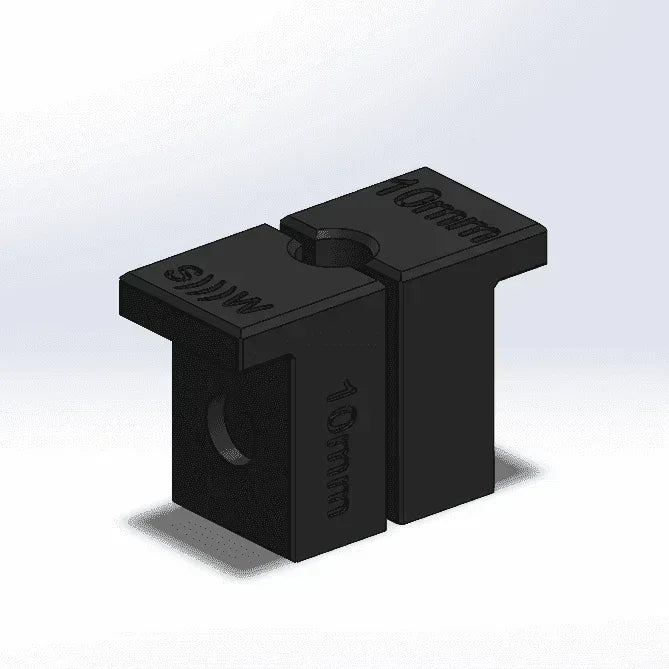
- 10 mm Shaft Clamp, fits the main Charger 3 / 3.1 damper shaft
Highly Recommended Extras:
- 10" Knipex Pliers: the best tool you can buy for fork/shock work
- Park Tool Cassette Tool: required for removing the damper top cap
Also needed: SRAM Butter and RockShox 4wt (varies by model).
Essential Tools Starter Pack: all general suspension tools
MTB Suspension Jargon for Beginners: if this is your first damper rebuild
How to Bleed & Rebuild (Read Carefully)
- The only difference between Charger 3 and 3.1 is the base-valve piston.
SRAM Service Manual (PDF): Pages 134–138
Excellent explanation of bleed technique and failure symptoms: Watch from 14:50
Charger 3 vs 3.1 base-valve comparison: Read here
Disclaimer
⚠ Only the 10 mm shaft clamp is included in this listing. Proceed at your own risk. Refer to official SRAM documentation for full procedures.
See our Terms of Service.
Share