Shockwave Parts
Fox FIT4 Damper + Air Shaft Full Rebuild Toolkit (2016–2024)
Fox FIT4 Damper + Air Shaft Full Rebuild Toolkit (2016–2024)
Couldn't load pickup availability
Fox FIT Forks Full 200h Air + Damper Rebuild Kit
Everything you need to fully service your Fox FIT fork, both damper and air spring. Covers all FIT-style dampers (FIT4, FIT RC2) from 2016–2024 across 34, 36, and 38 forks. Just make sure you don't have a taper-cast lower (rare on XC forks).
Use these Seal kits, they are so cheap and the shipping is free because he ships them in letters! You will have to get the real fox kit for the damper sadly, I did not find any aftermarket ones.
What's Included
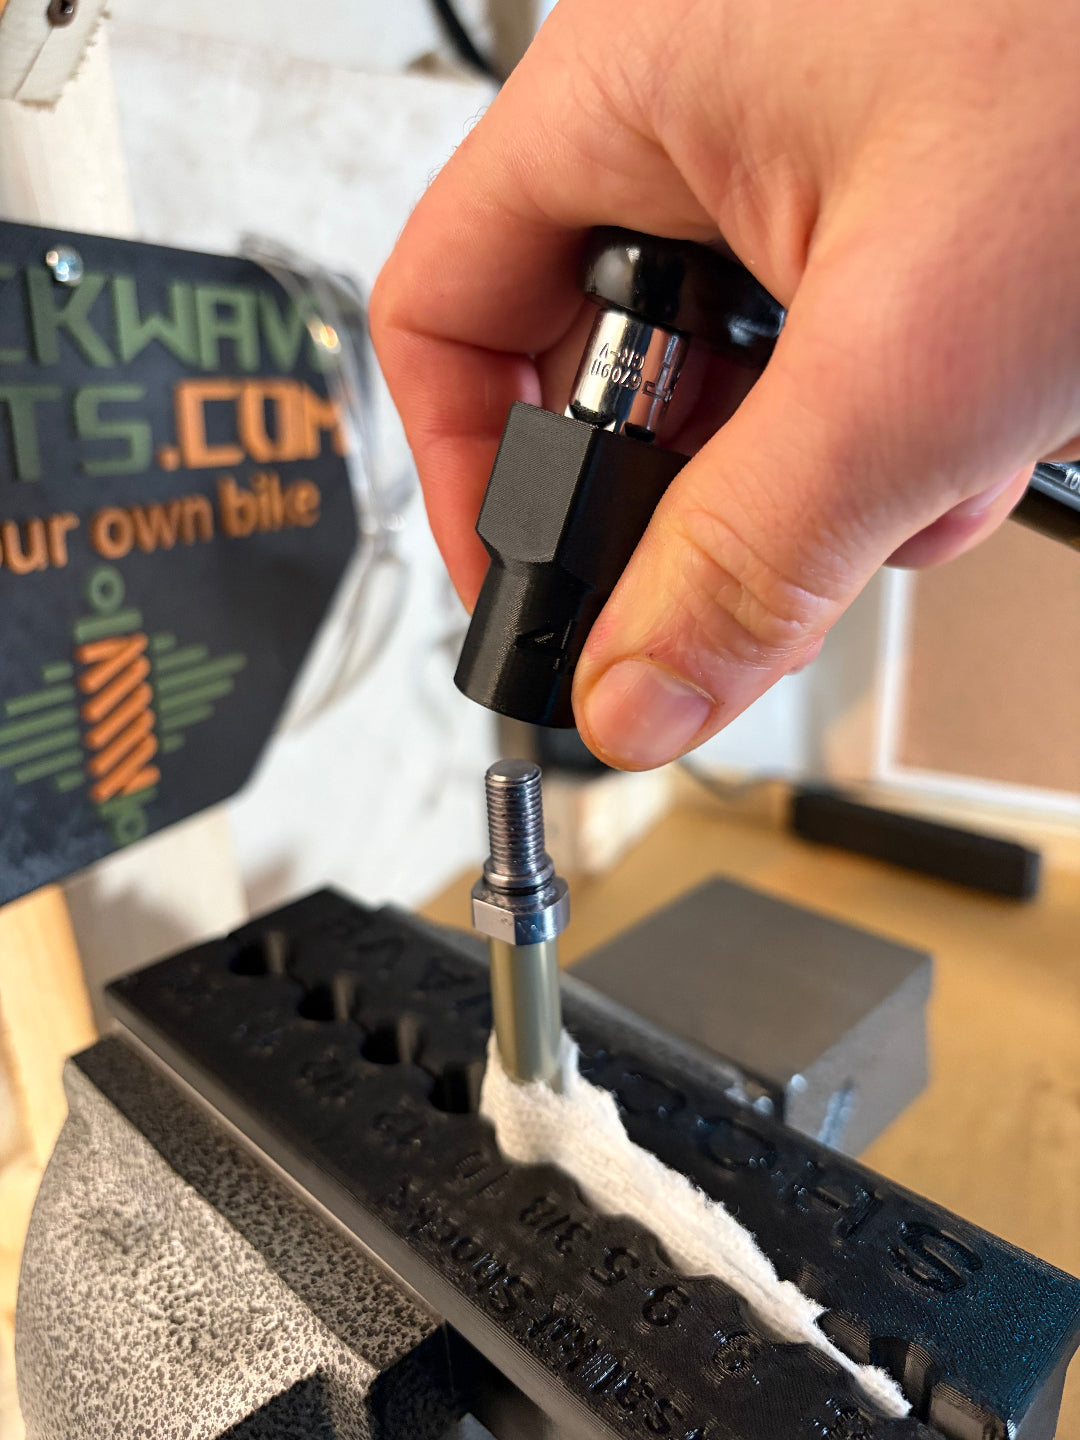
- 8mm Shaft Clamp
- 10mm Shaft Clamp (also works for air shaft service)
- FIT Damper Body Clamp
- Dust Wiper Tool V2
- Lower Leg Shaft Driver
- Fox Float NA / NA2 Plastic Bullet Tool
This rebuild kit gives you the tools for both damper and air spring service. All other tools are considered standard, see the Essential Tools Page.
Seal Kits & Technical Info
- 10mm Shaft Damper Seal Kit (ANSO)
- 8mm Shaft Damper Seal Kit (ANSO)
- Dust wiper sizes depend on fork model (32, 34, 36, 38)
Fox-branded damper kits are more expensive but include preassembled sealheads. ANSO kits require visual shaft inspection (8mm vs 10mm).
References, Pro Tips & Full Procedures
References
Pro Tips
- Use lots of Slickoleum or SRAM Butter with the plastic bullet tool.
- If the bladder collapses slightly after reassembly, it will return under pressure.
- For tuning beyond stock, consider the Vorsprung Fractive Kit.
- If compression is weak but rebound works, suspect a bad bleed or missing oil.
- Grease dust wipers and lower bushings generously with SRAM Butter.
Full Rebuild Procedure
Follow the same steps as the FIT4 Damper Rebuild. Key additions include:
- Replace dust wipers using the included press tool
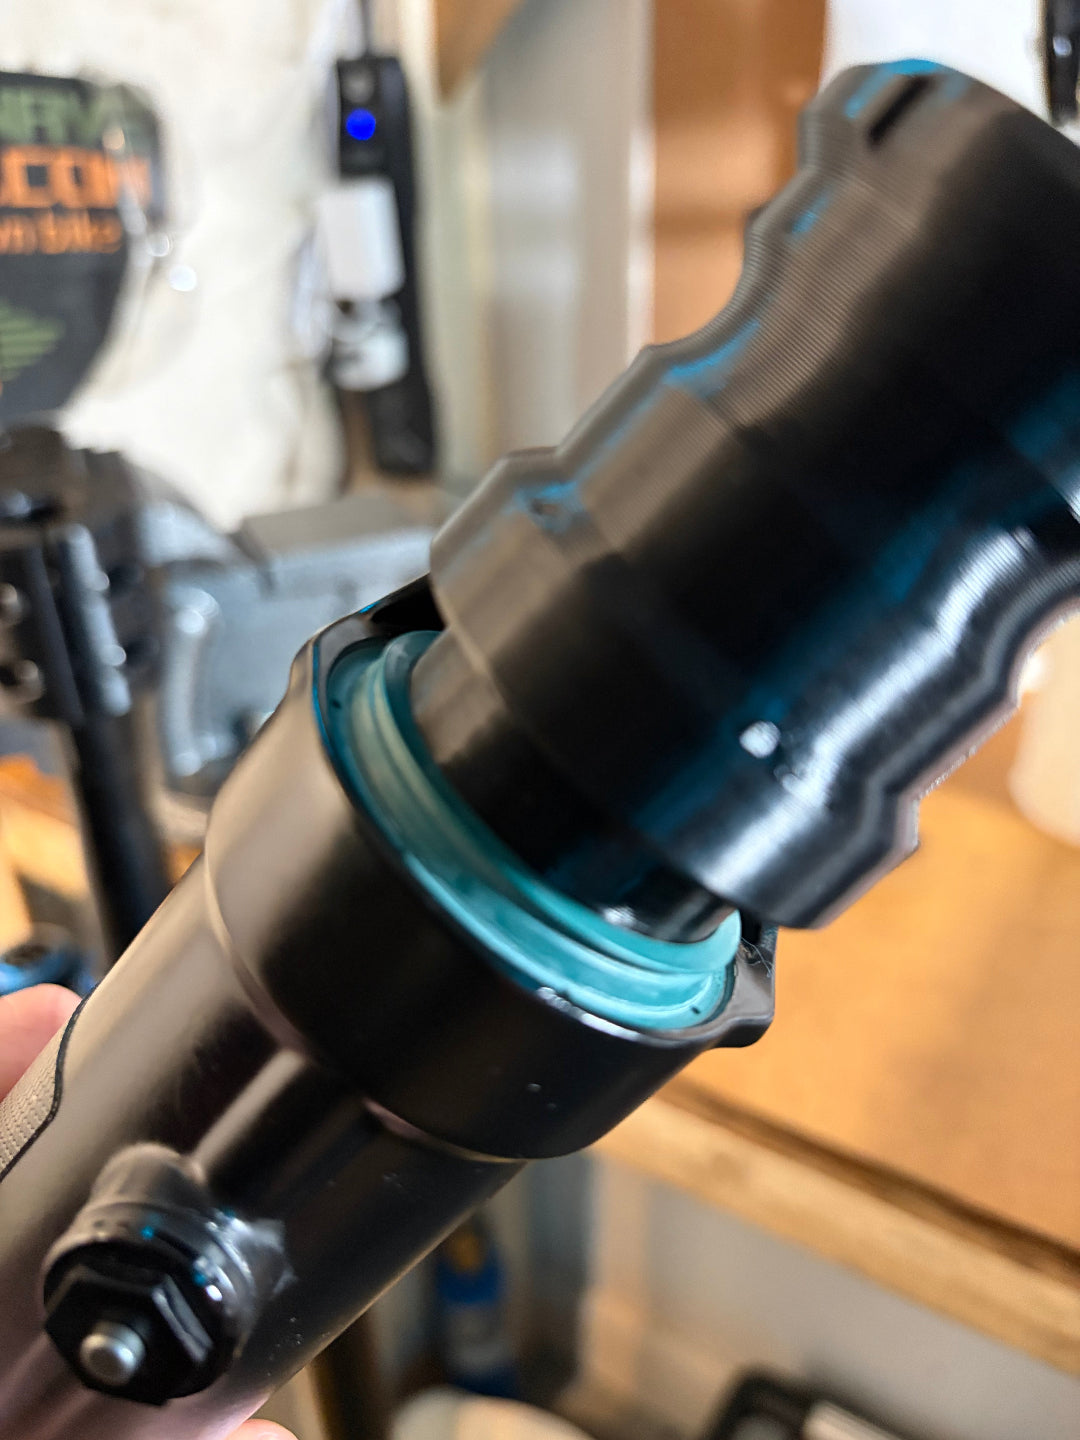
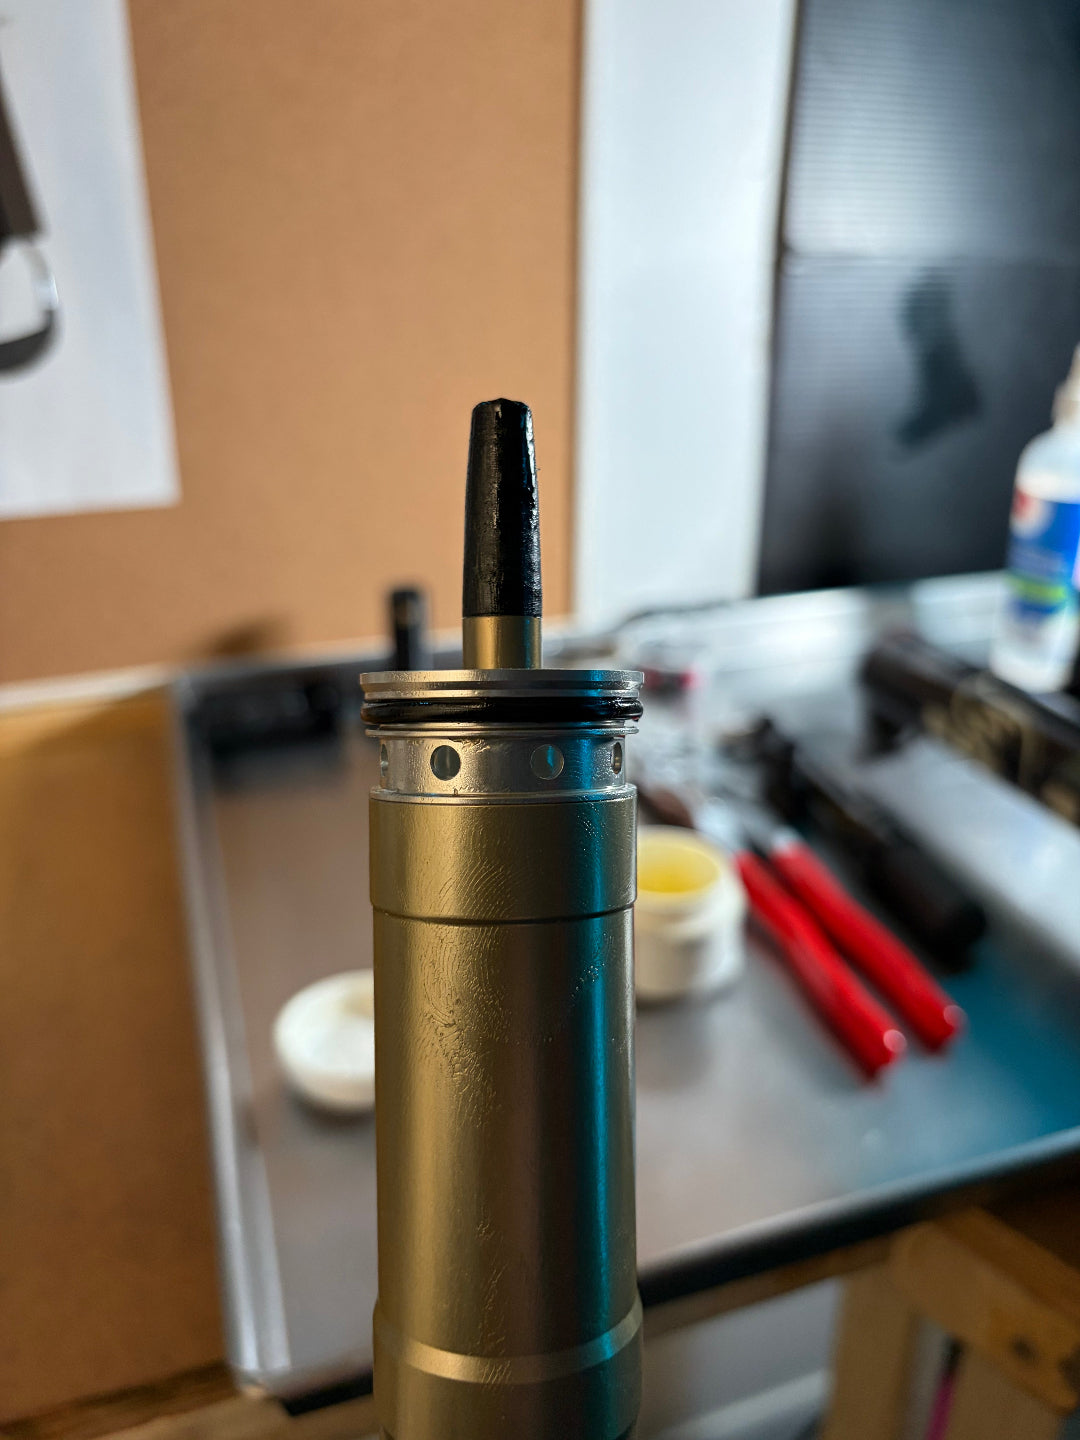
- Clean and inspect air shaft; clamp 10mm shaft and use bullet tool to remove/reinstall NA2 sealhead
- Use the shaft driver to release lower legs cleanly
Bleed Summary
- Open all adjusters (HSC, LSC, rebound)
- Ensure compression needle sits in its hole
- Clamp damper body, unscrew sealhead, drain oil
- Refill halfway & squeeze bladder 5–10 minutes
- Top off & reinstall sealhead to 8.5 Nm
- Remove compression needle adjuster with pick + magnet
- Bleed through the needle port while cycling shaft and squeezing bladder
- Reinstall adjuster + retaining ring
Final Assembly
- Both rebound & compression should feel clearly damped
- Check air spring travel + bladder return
- Use 20wt Gold on air side lowers; 4wt on damper side if FIT
- Always use a 26–28mm chamferless socket
Warnings & Disclaimer
- Taper-cast forks (rare XC) may not be compatible with included driver
- Always depressurize air spring before opening
- Do not clamp logos or threads
- Clean all clamp zones with alcohol before clamping
- Do not open the base valve unless experienced or bladder is blown
Disclaimer: DIY use only. See Terms of Service.
Share