Shockwave Parts
FOX DPX2 Full DIY Rebuild Toolkit
FOX DPX2 Full DIY Rebuild Toolkit
Couldn't load pickup availability
FOX DPX2 Full DIY Rebuild Toolkit
Complete home rebuild toolkit for FOX DPX2 shocks. Designed for serious home mechanics.
The DPX2 uses a needle-style IFP system and is easy to mess up without the right approach. This kit covers the critical tooling for a proper rebuild.
Dynamic Damper seals included (IFP/Damper Shaft)
We don't make the compression assembly socket yet, only the rebound side.
What This Kit Is For
This kit allows a full and correct rebuild of the FOX DPX2 damper.
- 50h dynamic seal service
- 200h damper rebuild
- Proper IFP reset (depth + pressure)
- Manual / hand bleed (as intended by FOX)
FOX specifies chamferless sockets, but the job can be done safely with normal tools if you torque correctly using the luggage-scale method.
What’s Included in the Kit
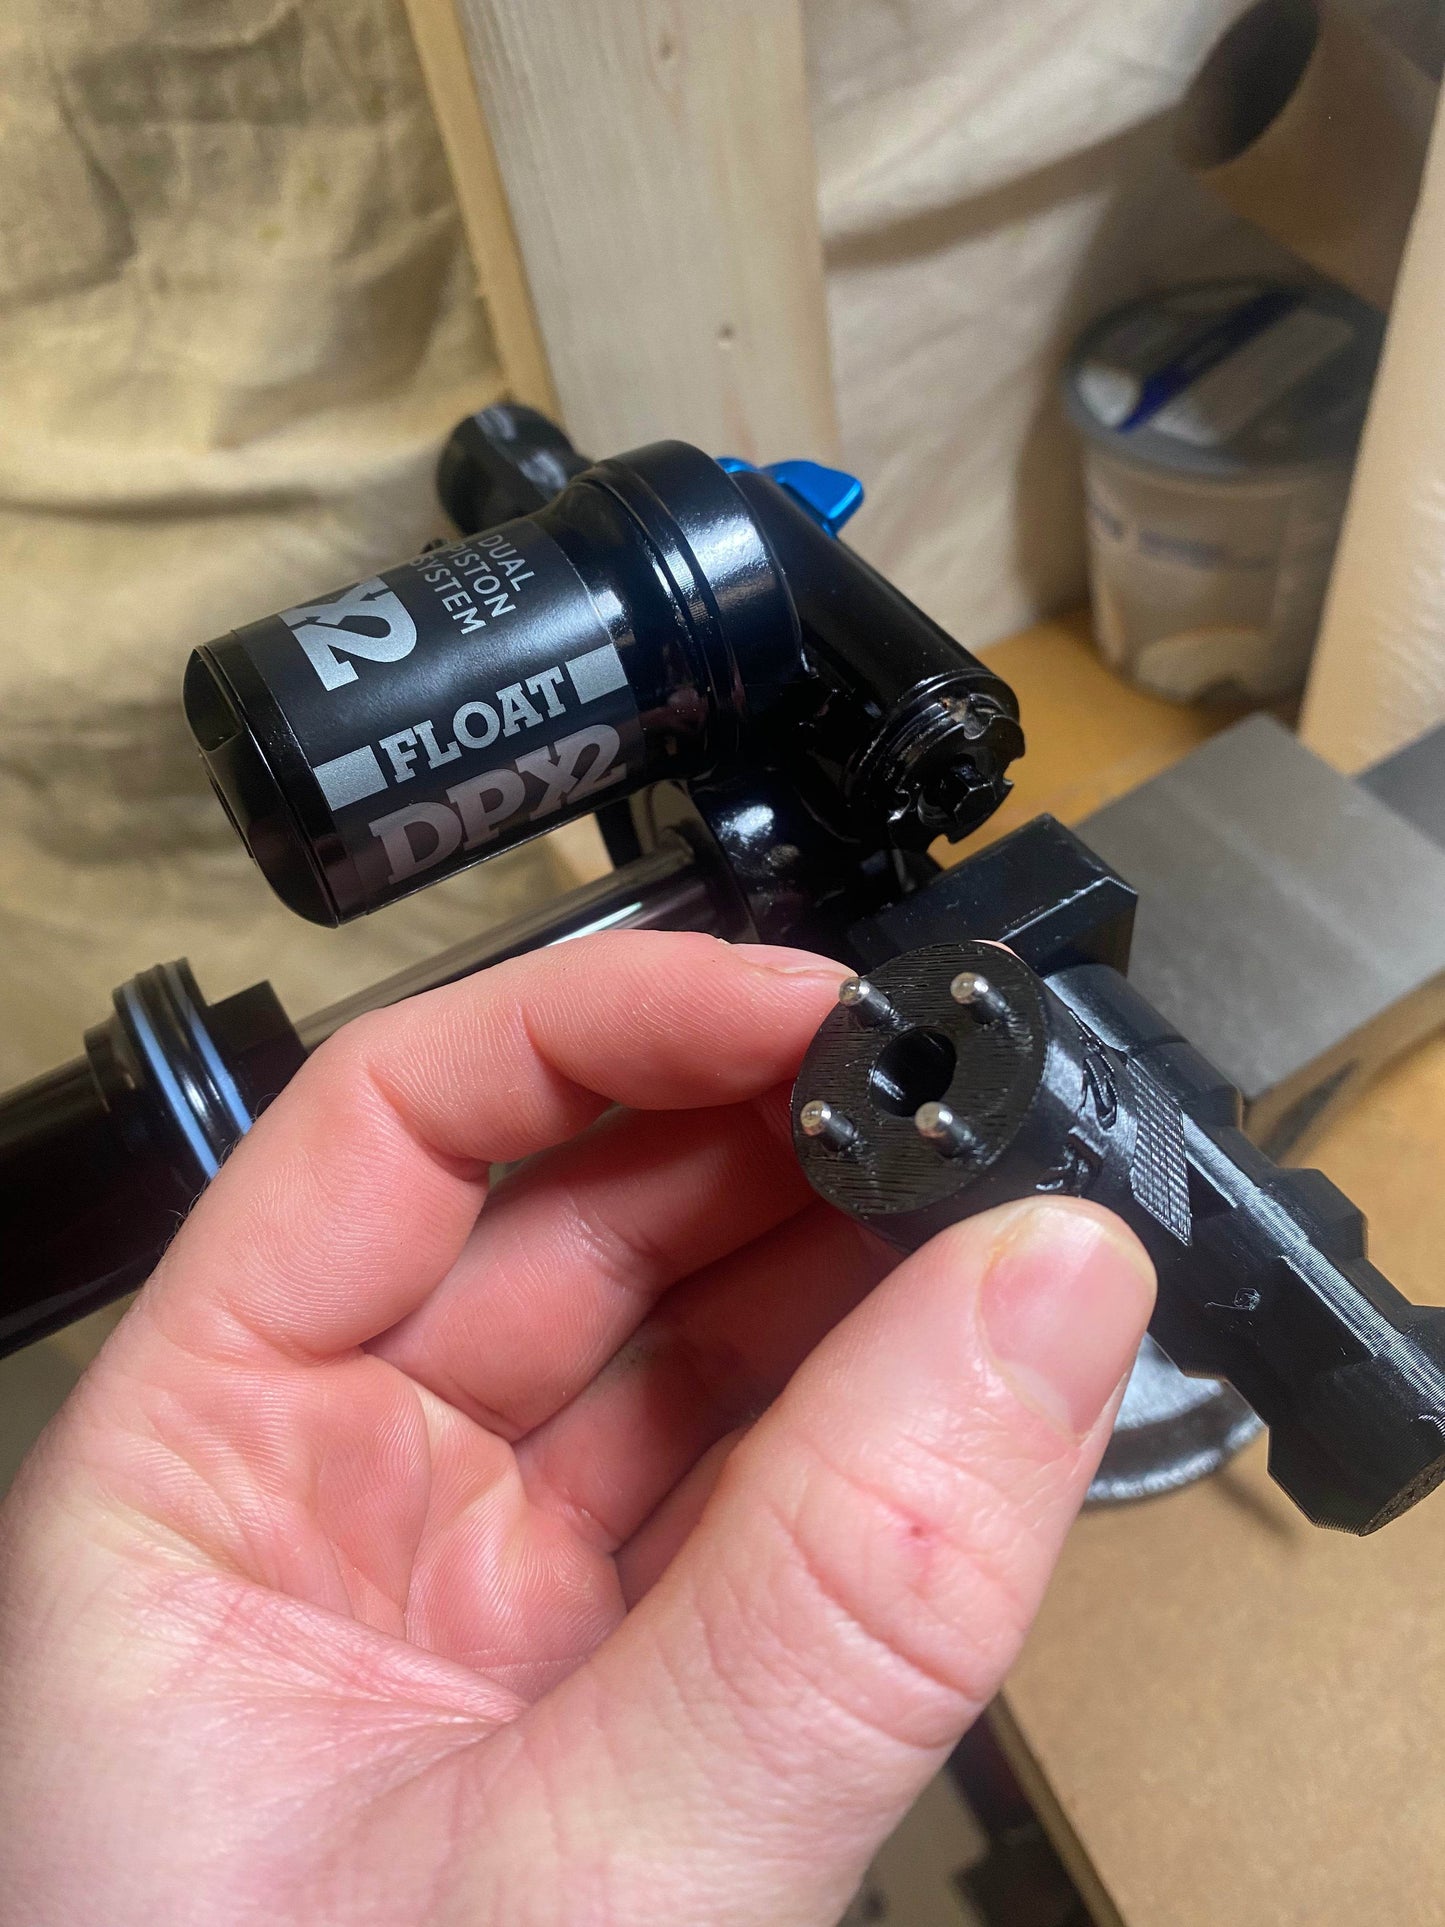
- 1/2" Shaft Clamp — for the main damper shaft
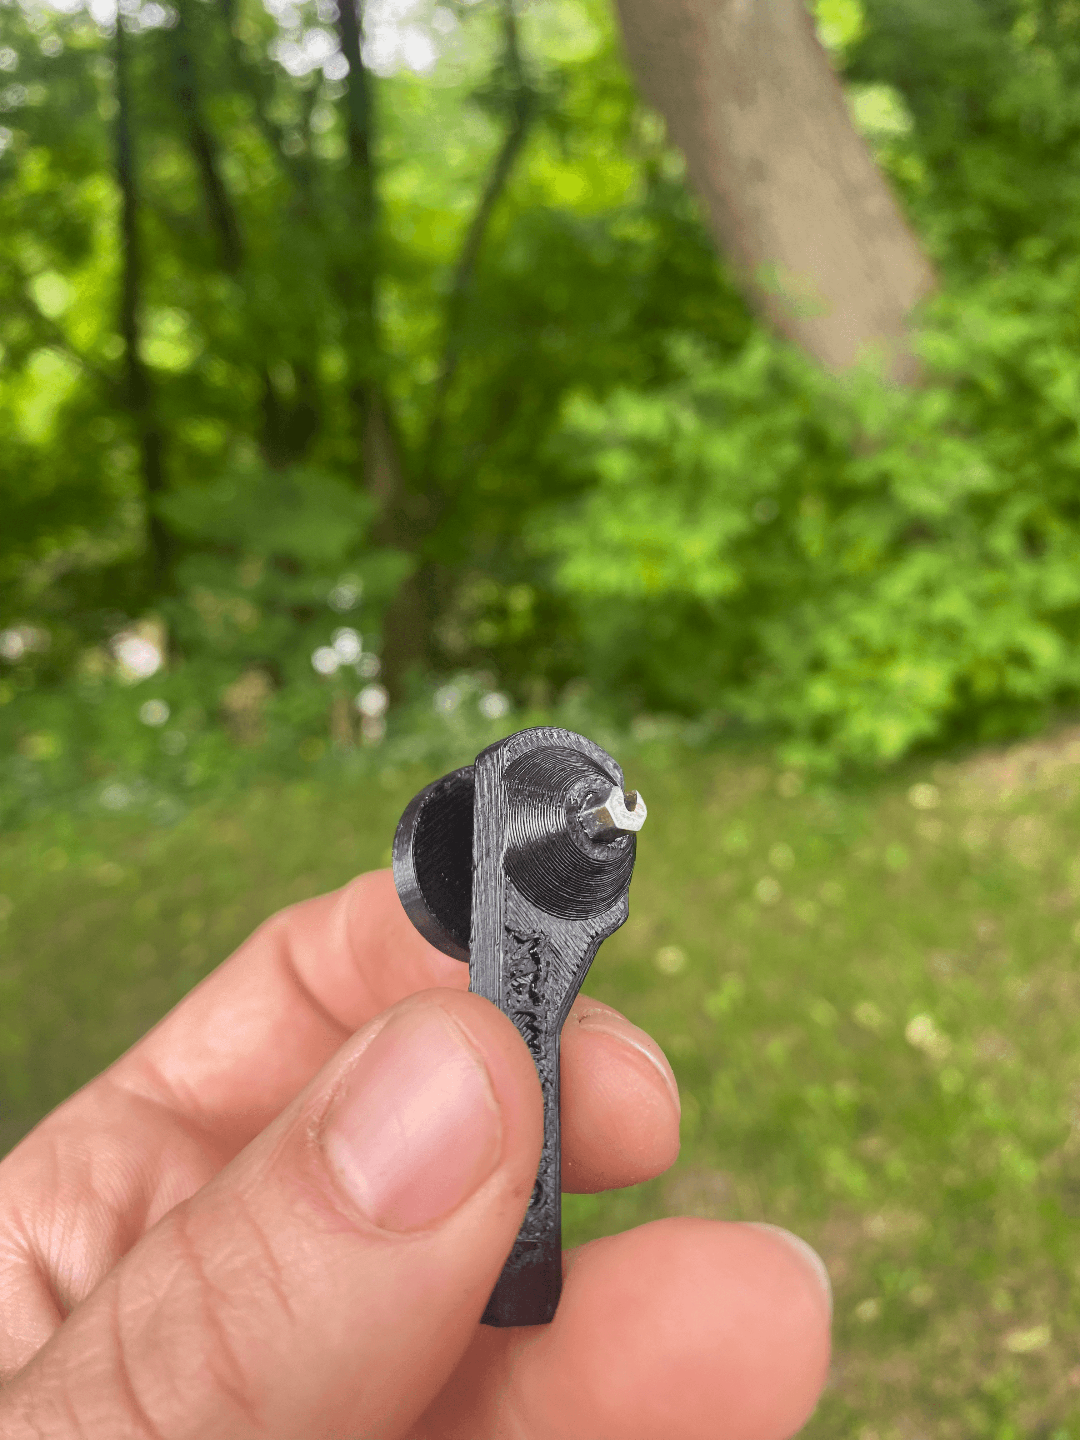
- High-Torque Metal Pellet Retainer Tool — plastic versions are too weak for DPX2
- Graduated IFP Depth Tool — required for setting 1.5" IFP depth
- Optional: DPX2 Rebound Adjuster Pin Socket (only needed if leaking)
Pellet retainer tip: You can make one yourself with a Dremel and a 4 mm Allen key. Cheap and effective.
I include the Damper shaft seal and the IFP Seal.
Seal kit note:
This toolkit covers routine damper service. If you are dealing with air leaks or external oil leaks, a full seal kit is recommended. Good options include:
Tools NOT Included (You Still Need These)
This kit does not include common shop tools and consumables required to complete the rebuild:
- Needle air fill adapter — mandatory for DPX2 (how to choose and use one)
- Shock pump
- Valve core remover
- RockShox air fill adapter (FOX uses the same thread)
- Syringe (for bleed cleanup or optional tube bleed)
- Damper oil (FOX spec)
- Basic hand tools (Allen keys, wrenches)
If you’ve rebuilt shocks before, you probably already own most of these.
Safety & High-Pressure Warnings
This shock is pressurized in two places: the air can and the damper.
- Always release air spring pressure first (25 psi steps, equalize each time)
- If the shock sucks down, add air back until you can equalize
- Release damper pressure using the needle fill tool
A plastic ball is press-fit into the piggyback fill port:
- Drill a very shallow hole, do not go deep
- Hook and remove with a pick
- Use the center hole for needle fill / release
Never skip these steps. A pressurized IFP can eject violently.
IFP pressure: 150 psi | IFP depth: 1.5"
Main piston warning: Do not exceed ~10 Nm. The shaft can break due to cross-drilled holes.
Bleeding Method & Real-World Tips
Use the official FOX DPX2 manual. It includes a proper manual bleed.
Extra tip after Step 11:
- IFP should be mid-reservoir
- Install middle bleed screw lightly (≈1.6 Nm)
- Open damper tube bleed screw
- Compress damper ~15 mm → bubbles exit
- Close tube screw, extend damper
- Reopen middle screw and set final IFP depth
This extra step helps purge trapped air in the tube.
Note: DPX2 has two pellet ports. Always use the piggyback one. The eyelet port is for non-piggyback shocks.
Disclaimer
This toolkit is intended for experienced home mechanics only.
Incorrect use of needle fill tools or improper pressurization can cause injury or damage.
By purchasing, you agree to our Terms of Service.
Share


