Shockwave Parts
Fox GRIP Damper Rebuild Toolkit – All Years
Fox GRIP Damper Rebuild Toolkit – All Years
Couldn't load pickup availability
Fox GRIP Damper Rebuild Toolkit (All Years)
Everything you need to rebuild your FOX GRIP damper, damper-only service. This damper is one of the easiest to rebuild and rarely requires internal re-valving or base valve service.
This Damper is SUUUPERR easy to rebuild and bleed.
Use GRIP 1-2 Seal kits, they are so cheap and the shipping is free because he ships them in letters!
What's Included
- 2-in-1 GRIP Shaft Clamp
- 10mm Shaft Clamp (main GRIP damper shaft + Fox air shafts)
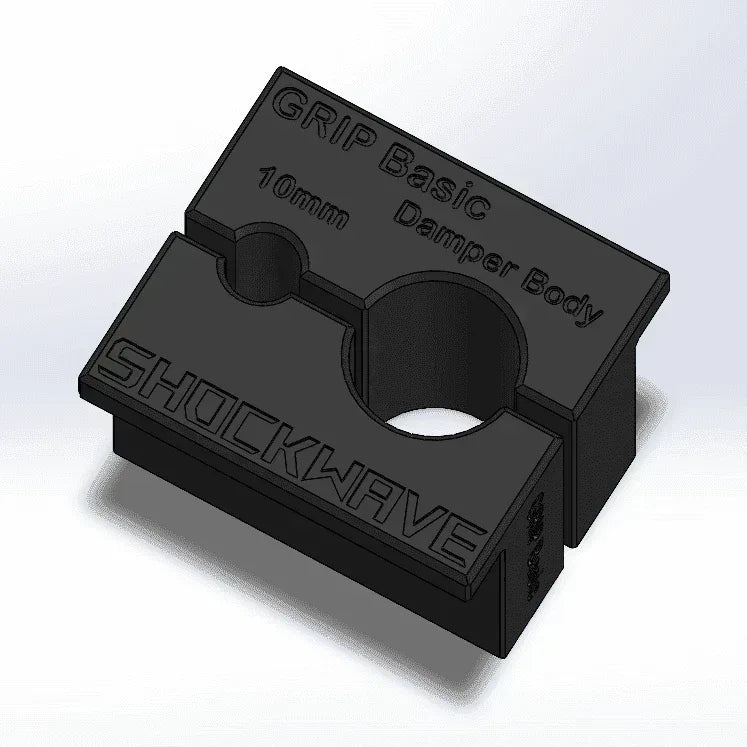
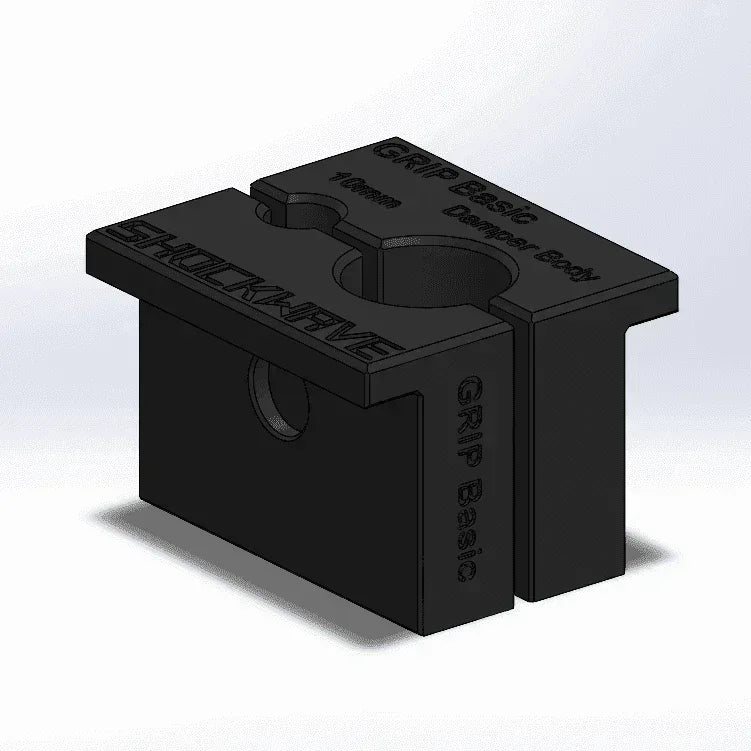
- GRIP Damper Body Clamp
No bleed syringe required, this damper self-bleeds during assembly.
Oil Info
- Use Fox 4wt fluid in the damper
- Also use 4wt in the lowers on the damper side (this damper ingests oil over time)
References & Pro Tips
References
- Essential Tools for Fork Service
- How to Clamp Small Shafts
- How to Clamp Large Shafts
- MTB Suspension Jargon
Pro Tips
Fox fully disassemble the compression assembly in their instructions but don't do it, it's quite useless unless you want the revalve the damper, which is, also pretty useless, sell it and get a used GRIP 2 or X2 instead of buying a 200$ shim kit. The Grip 2 compression is under-damped so if you're heavy or a very smashy rider, consider getting the X2 or another brand like ohlins.
- Open compression and rebound adjusters fully before reassembly or bleeding won’t work
- If rebound adjuster assembly (on the 10mm shaft) feels stiff to remove, heat the outer shaft lightly (5 seconds max)
- Most internal seals in GRIP dampers last forever, don’t open the compression assembly or midvale if it isn’t leaking
- This 3-in-1 clamp can be used on many other Fox dampers and air shafts
- The best way to replace the sealhead seals is to unscrew the rebound assembly side, slide out the sealhead from that side and not open the mid valve side
- You can also pull on the center shaft and replace the LSR seal
- Rotate the rebound rod until it clicks back in place when reinstalling
- Never insert the damper shaft fully after the bleed is done, always leave 2–3 cm from the top
Warnings & Disclaimer
- Do not use an adjustable wrench on the damper, only a 26–28mm chamferless socket on the damper top cap!
- Clean shaft before clamping or it will slip
- Never open the mid-valve unless re-valving, it’s not necessary for standard service
Disclaimer: Home-use only. Do not clamp near logos or threads. Always inspect oil condition, rebound feel, and compression response before reassembly. See Terms of Service.
Share