1
/
of
4
Shockwave Parts
Öhlins Lower 50h Leg Service with Dust Wiper Replacement
Regular price
$19.49 CAD
Regular price
Sale price
$19.49 CAD
Unit price
/
per
Shipping calculated at checkout.
Couldn't load pickup availability
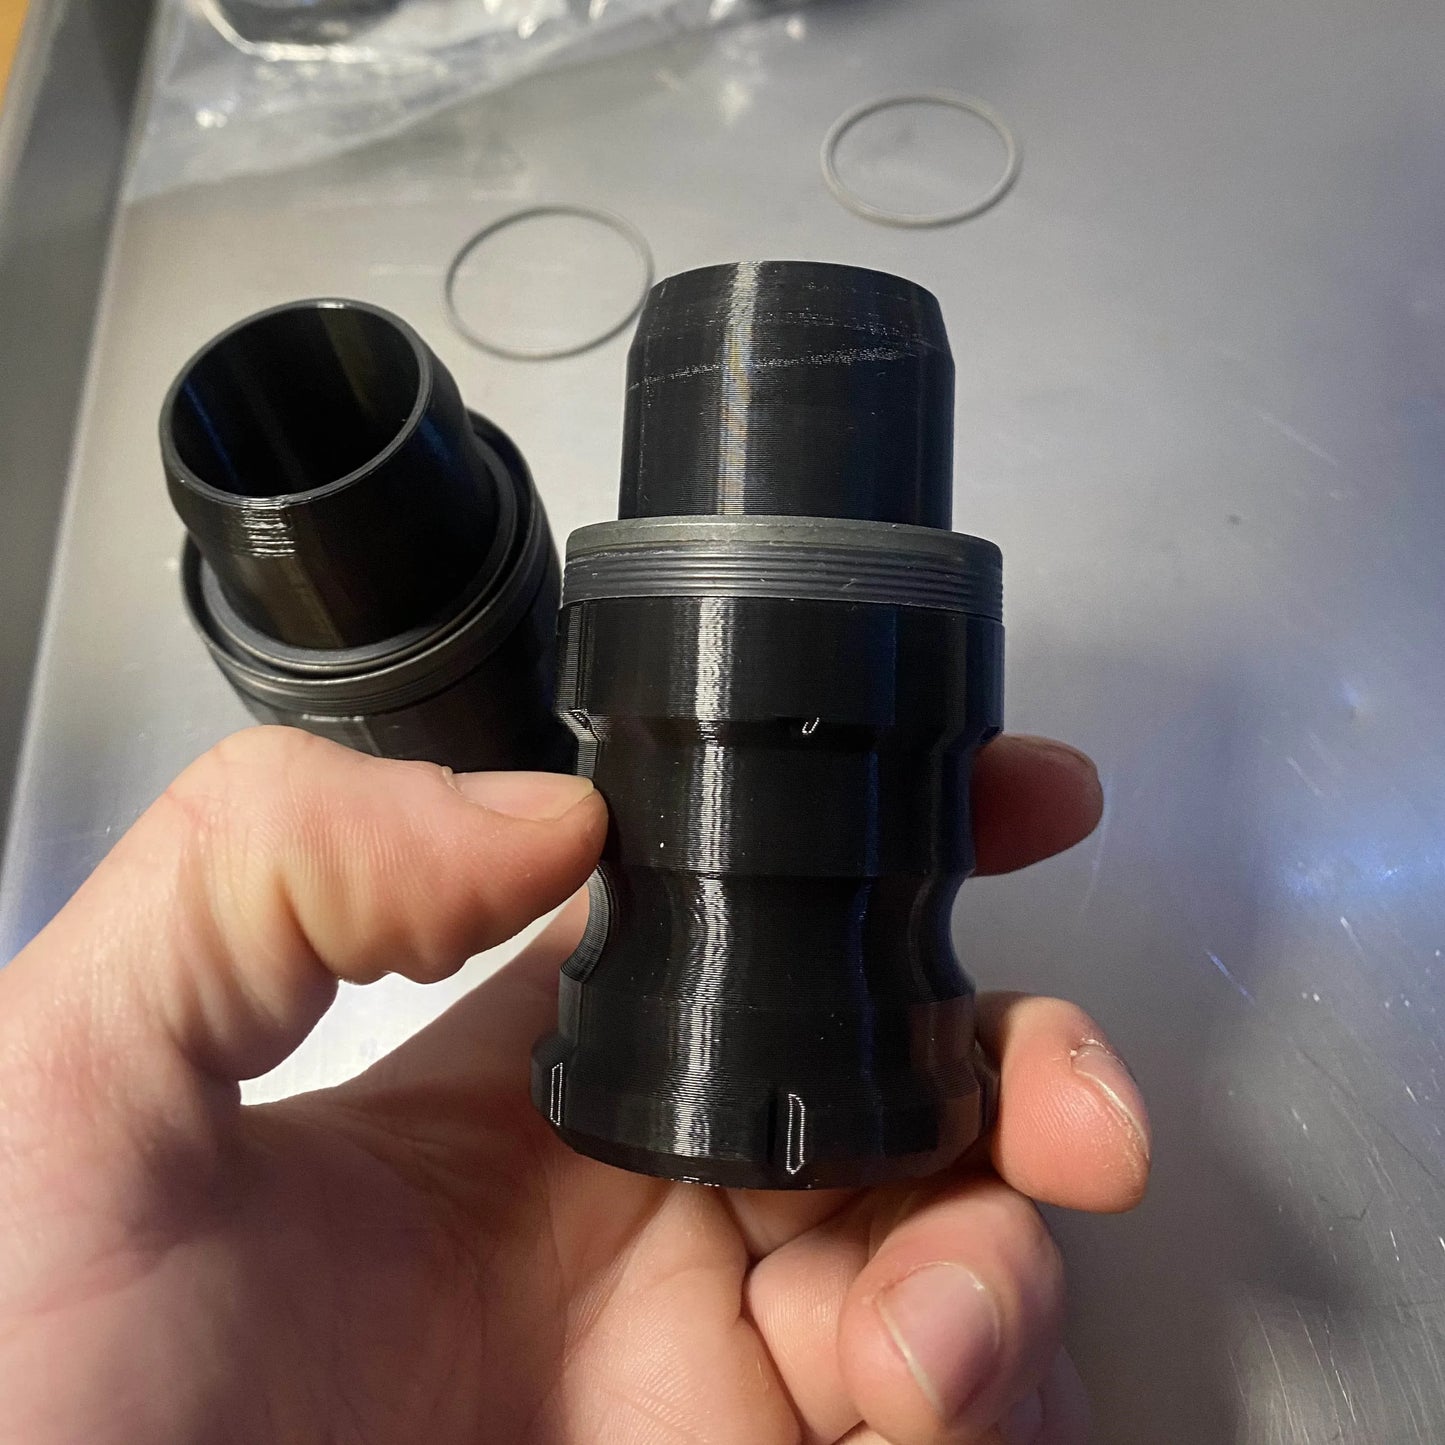
Öhlins Lower Leg Service (Dust Wiper Replacement Included)
This is a more complete 50-hour service for Öhlins forks that includes replacing the dust wiper seals. Ideal for RXF38, RXF36, RXF34, DH38.
Don't forget to put SRAM Butter or Slickoleum grease on the fork's lower legs stanchion bushings and inside the dust wiper seals before reinserting the lowers, makes the fork feel amazing!
Includes:
1x Dust Wiper Seal Press Tool sized to match your fork model (choose at checkout).
No other tools are included. You’ll need grease, oil, foam rings, and basic hand tools.
1x Dust Wiper Seal Press Tool sized to match your fork model (choose at checkout).
No other tools are included. You’ll need grease, oil, foam rings, and basic hand tools.
Service Steps
- Remove adjusters using an Allen key and a spanner to hold the knobs.
- Undo the foot nuts with a standard long socket and ratchet.
- Slide off the lowers gently. A soft mallet tap on the air side may help if needed.
- Remove the foam rings and dust wiper seals from both legs.
- To pop out the dust wiper seals, a 24mm wrench or 32mm wrench with a rag to protect the lower legs works really well.
- Just don't use anything sharp (Flat screwdriver, pry bar, etc)
- Clean everything thoroughly: stanchions, lowers, bushings, all of it.
- Grease the fork bushings with SRAM Butter or Slickoleum.
- Install new dust wiper seals using the press tool provided. Only hammer gently and read our instructions to make sure you get it on the first try!.
- Soak new foam rings in lower leg oil and install. Do not twist. They go under the dust wiper seals in case your forgot.
- Don't forget to put SRAM Butter or Slickoleum grease on the fork's lower legs stanchion bushings and inside the dust wiper seals before reinserting the lowers :)
- Remove the spring ring from the new wipers and place it on the stanchion tube instead. (And the Sag ring!!)
- Slide the lowers back on, leaving a ~2cm gap before full insertion.
- Pour in 5–10 cc of oil through the damper/air shaft holes (each leg).
- Slide fully into place, install crush washers, reinstall foot nuts. Torque gently - MAX 6 Nm (Be carefull, overtorque will snap the shafts)
- Reinstall the rebound adjuster and it's screw back on with gentle torque (1-2Nm) with blue loctite. Done!
Important Tips:
- Never reuse old seals or foam rings.
- Too much oil = harsh ramp-up. Stay around 5–10 cc per leg.
- Always remove the spring ring from the seal and move it to the stanchion before reassembly.
- Torque foot nuts very gently, overtightening can break the shaft.
Disclaimer:
This kit includes only the dust wiper seal press tool. You must supply all other parts and fluids. Service at your own risk. Read our Terms of Service.
Share