1
/
of
2
Shockwave Parts
Fox GRIP2 Damper Tool Kit (2019–2020 Non-VVC)
Fox GRIP2 Damper Tool Kit (2019–2020 Non-VVC)
Regular price
$35.00 CAD
Regular price
Sale price
$35.00 CAD
Shipping calculated at checkout.
Quantity
Couldn't load pickup availability
Fox GRIP2 Damper Rebuild Toolkit (2019–2020, Non-VVC)
Everything you need to rebuild your FOX GRIP2 non-VVC damper, damper-only service. This version adds high-speed rebound and high-speed compression adjusters compared to GRIP1.
Still extremely easy to rebuild, just don’t mess with the shim stacks unless you’re revalving.
Use GRIP 1–2 Seal kits. Cheap, reliable, and shipped in letter mail.
Official rebuild guide: Fox 2019–2020 GRIP2 Service Manual.
What's Included
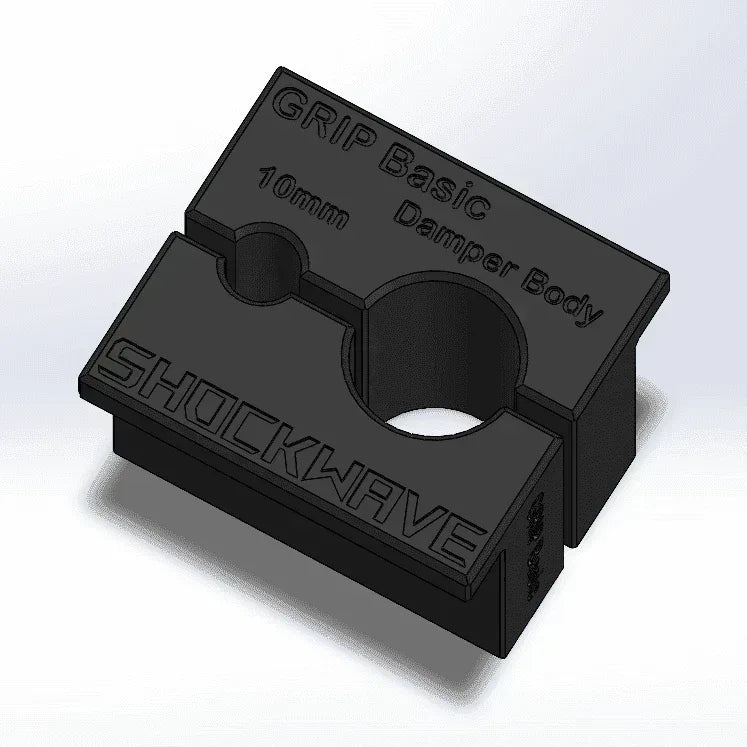
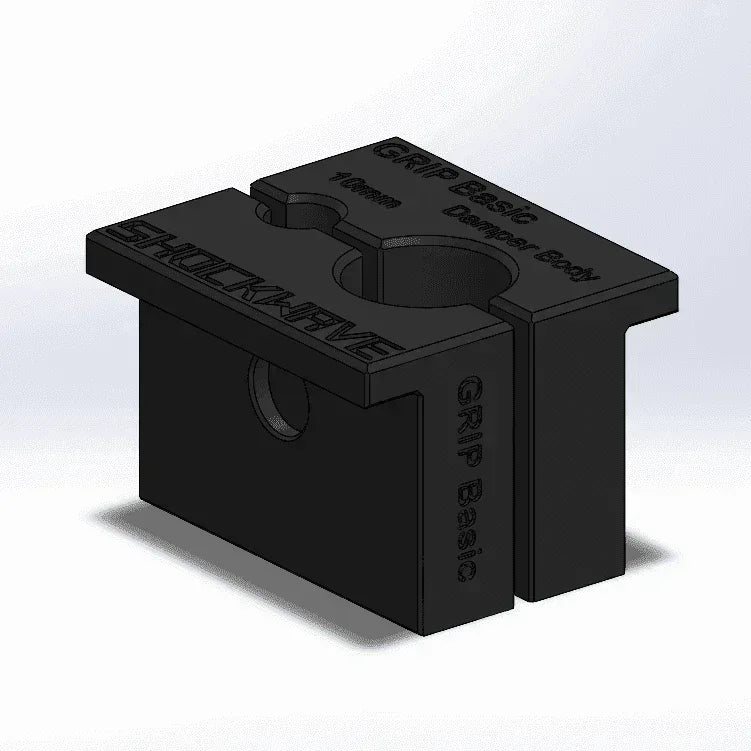
- 2-in-1 GRIP Shaft Clamp
- 10mm Shaft Clamp (main GRIP damper shaft + Fox air shafts)
- GRIP Damper Body Clamp
- If you want to open the compression stack, you need the 8-10-GRIP clamp.
No bleed syringe required, this damper self-bleeds during assembly.
Oil Info & References
Oil Info
- Use Fox 4wt fluid in the damper
- Also use 4wt in the lowers on the damper side (this damper ingests oil over time)
References
Pro Tips & Procedures
- GRIP2 adds true HSC and VVC-HSR (VVC will be explained in the future), both excellent and rarely need revalving
- After the damper is open and you unscrewed the sealhead using our GRIP Clamps:
- How to Clamp Damper Tubes
-
Rebound side (trickier than GRIP1):
- Unscrew rebound assembly cap on the rebound-adjuster side of the 10mm shaft (10mm clamp required)
- Pull out the rebound rods from the center
- Unscrew mid-valve with a 12mm wrench
- Do NOT open the VVC rebound stack, only remove the small metal nut below the mid-valve
- Slide out sealhead, replace seals
- Grease threads and slide sealhead back from the piston side
- Reassemble with proper torques:
- Mid Valve nut: 4.5 Nm
- Rebound assembly: 4.5 Nm
- Sealhead into damper: 16.9 Nm
- Compression assembly: 16.9 Nm
- Damper into fork: 15–20 Nm (Fox says 28 Nm, but 15–20 is fine)
- Bottom nut on lowers: 12.4 Nm
-
Compression side:
- Unscrew and pull out entire assembly
- Replace visible seals, IFP o-ring, base valve o-ring
- Do NOT open shim stacks unless leaking or tuning
- IFP center o-ring rarely leaks, service only if needed
- Base valve: one main o-ring, easy to replace, no need to go further
-
Bleeding process:
- Fill halfway with 4wt
- Insert shaft and stroke to purge air
- Top off
- Install compression assembly
- Open ALL rebound + compression adjusters fully before reassembly
- Never insert the damper shaft fully after bleeding, leave 2–3 cm from the top
Warnings & Disclaimer
- Do not use an adjustable wrench, use a 26–28mm chamferless socket on the top caps.
- Clean shafts with isopropyl alcohol before clamping
- Do not open the mid-valve or base valve unless leaking or revalving
Disclaimer: DIY use only. Always verify your damper generation (GRIP2 non-VVC). See Terms of Service.
Share