1
/
of
2
Shockwave Parts
Fox GRIP X2 Damper Rebuild Toolkit (2025+) | Shockwave Parts
Fox GRIP X2 Damper Rebuild Toolkit (2025+) | Shockwave Parts
Regular price
$25.00 CAD
Regular price
Sale price
$25.00 CAD
Shipping calculated at checkout.
Quantity
Couldn't load pickup availability
Fox GRIP X2 Damper Rebuild Toolkit (2025+)
Rebuild toolkit and step-by-step guide for the 2025+ Fox GRIP X2 damper, a cleaner, refined evolution of GRIP2 with better rebound tuning and excellent out-of-the-box control. Minimal tools required, and no need to disassemble the internal valving.
Self-bleeds like other GRIP dampers.
Need a seal kit? Fox Float GRIP X2 Damper Seal Kit (Anso Suspension)
What's Included
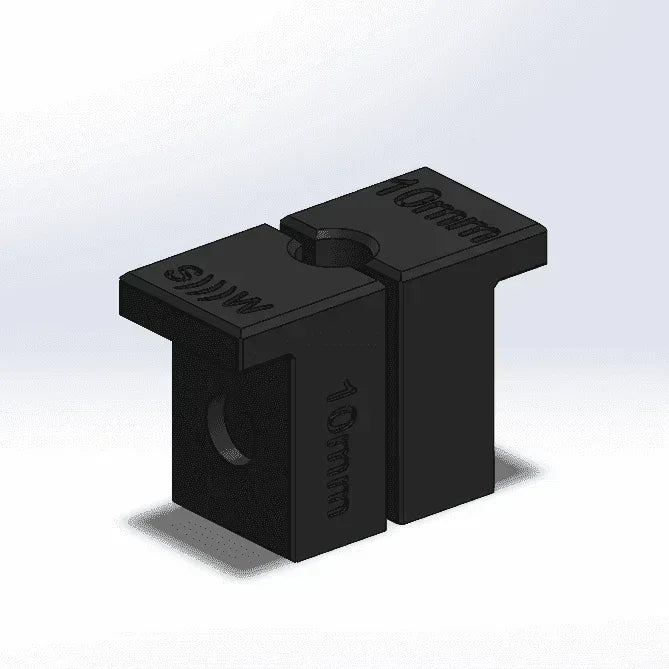
- 10 mm Shaft Clamp (for damper shaft and air shaft)
That’s it. No other clamps required, just clamp the flat square sections of the damper tube using soft jaws.
Oil Information
- Fox 4wt: damper + damper-side lowers
- Fox 20wt Gold: air-side lowers and positive air spring
- Slickoleum or SRAM Butter
References & Guides
Pro Tips
- Unscrew the compression assembly but do not disassemble it, just replace visible o-rings (IFP, Base Valve, Thread Seal).
- Service the 10 mm damper shaft from the rebound side: clamp → remove rebound cap → extract rebound rod.
- Remove sealhead, grease it, and reinstall from rebound side.
- If removing the mid-valve: use a 12 mm wrench on the lower piston stud.
- Do NOT open the HSR piston stack unless re-valving, requires special tools.
- Use a 28 mm chamferless socket for the compression cap.
- Self-bleed procedure:
- Half-fill damper
- Cycle shaft
- Top off
- Install compression cap while bleeding remaining air
- Torque compression cap to 16.9 Nm.
- Never fully insert damper shaft after bleeding, leave 2–3 cm from top or you’ll underfill the damper.
Warnings
- Clamp ONLY flat sections, never the damper body.
- Do NOT open the compression assembly internally.
- The rebound cap is delicate, protect the detent ball and pull gently.
- Use red Loctite on the rebound adjuster stud during reassembly.
- Always fully depressurize the damper before opening.
Disclaimer
⚠ This rebuild kit is intended for DIY home use. Always verify damper generation and year before ordering seals.
See our Terms of Service.
Share