Shockwave Parts
Fox FIT RC2 Damper + Air Shaft Rebuild Kit (2013–2017)
Fox FIT RC2 Damper + Air Shaft Rebuild Kit (2013–2017)
Couldn't load pickup availability
Fox FIT RC2 Damper + Air Shaft 200h Full Service Toolkit (2013–2017)
Everything you need to service your FIT RC2 damper and air spring, including dust wiper replacement, oil refresh, and full rebuild. Compatible with most 2013–2017 Fox 36 and Fox 40 forks using FIT RC2 dampers. Some Fox 40 versions used coil springs, but the lower leg drivers still apply.
Use Air Spring Seal kits, they are extremely cheap and ship by letter mail. For the damper, you must use the Fox OEM kit; no reliable aftermarket version exists.
What’s Included
-
3-in-1 Shaft Clamp (8mm + 10mm + FIT damper body clamp)
- 8mm Shaft Clamp (some FIT RC2 damper shafts)
- 10mm Shaft Clamp (air shafts + some FIT4 dampers)
- FIT Damper Body Clamp
- Dust Wiper Tool V2 (your selected size)
- Lower Leg Driver Tool
- Our Plastic Float NA2 Bullet Tool for 10mm Fox air shafts
This rebuild uses only the included 3-in-1 shaft clamp — no extra specialty tools required. Make sure you have a chamferless 32mm top cap wrench and other basic fork tools.
Oil & Grease Information
Damper:
– Fox 10wt Green (or Motorex 5wt equivalent)
Lowers:
– Fox 20wt Gold (see Fox oil volume chart)
Essential References
⚠️ Warnings
- Fully depressurize the air spring before removing lowers.
- Do not open the base valve or bladder unless damaged.
- Clean shafts with isopropyl alcohol until surface feels slightly tacky.
Disclaimer
This is a home-mechanic rebuild kit. Use at your own risk. See our Terms of Service.
Additional Tools Needed (Not included)
- 6-in-1 Top Cap Tool (typically 32mm)
- Slickoleum Grease
- MixMizer Syringe or equivalent funnel
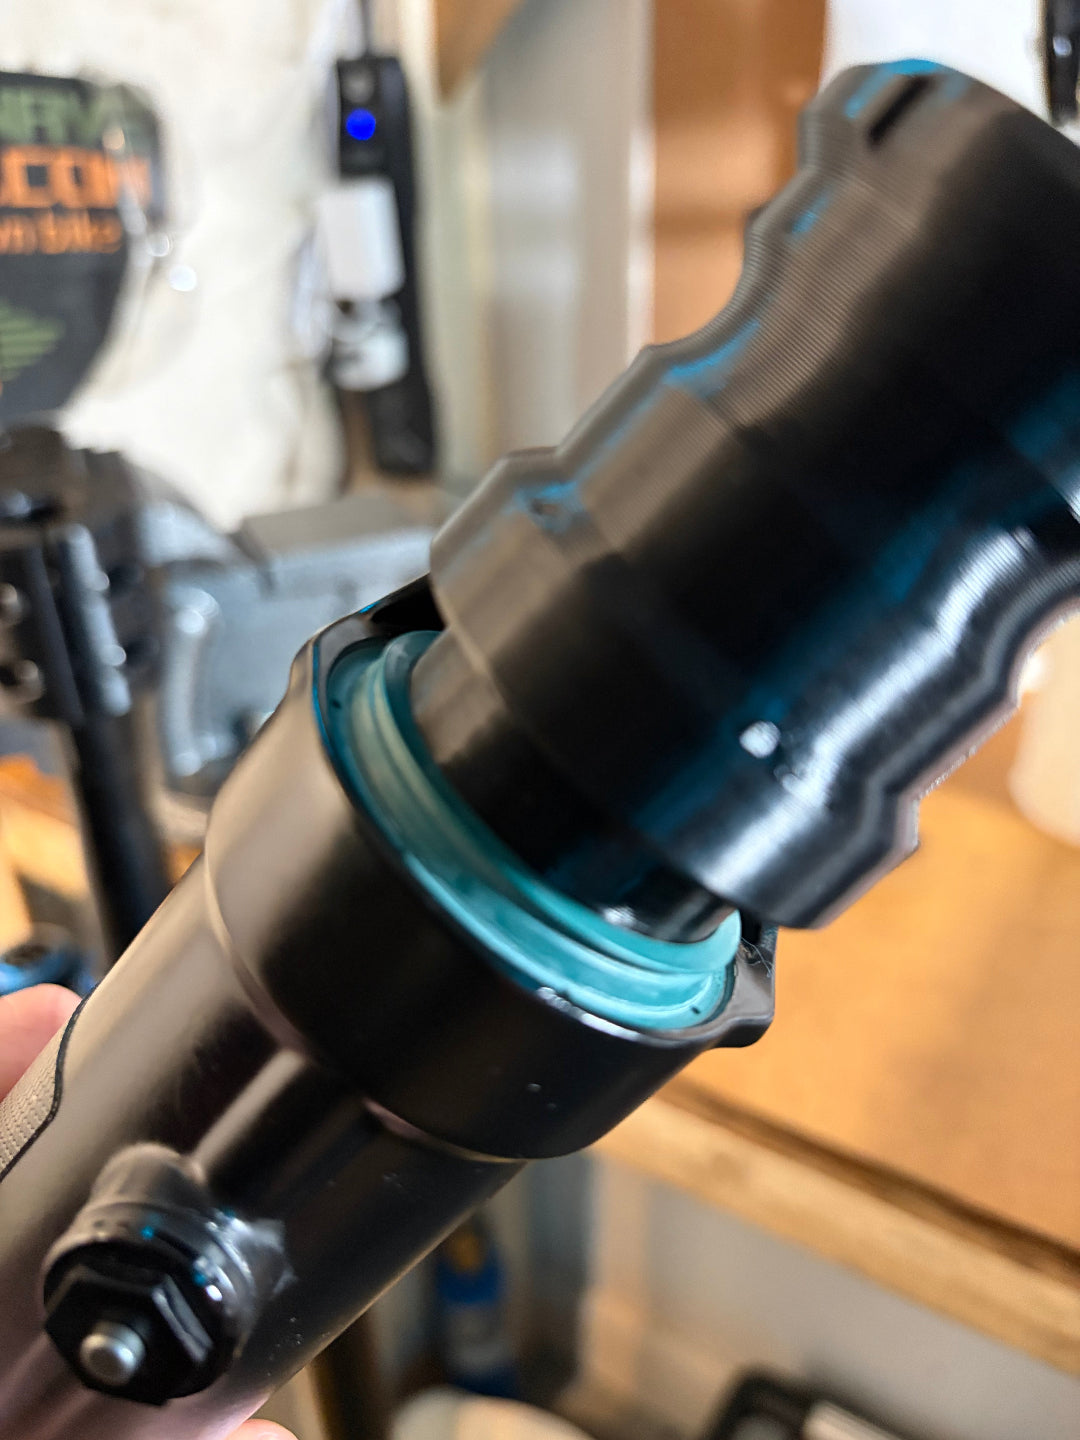
Damper Rebuild Procedure (Our Version)
- Clamp damper body using included clamp
- Unscrew seal head (use vice grip for old black style)
- Pull shaft/piston assembly and drain oil
- Clean all internals with isopropyl alcohol
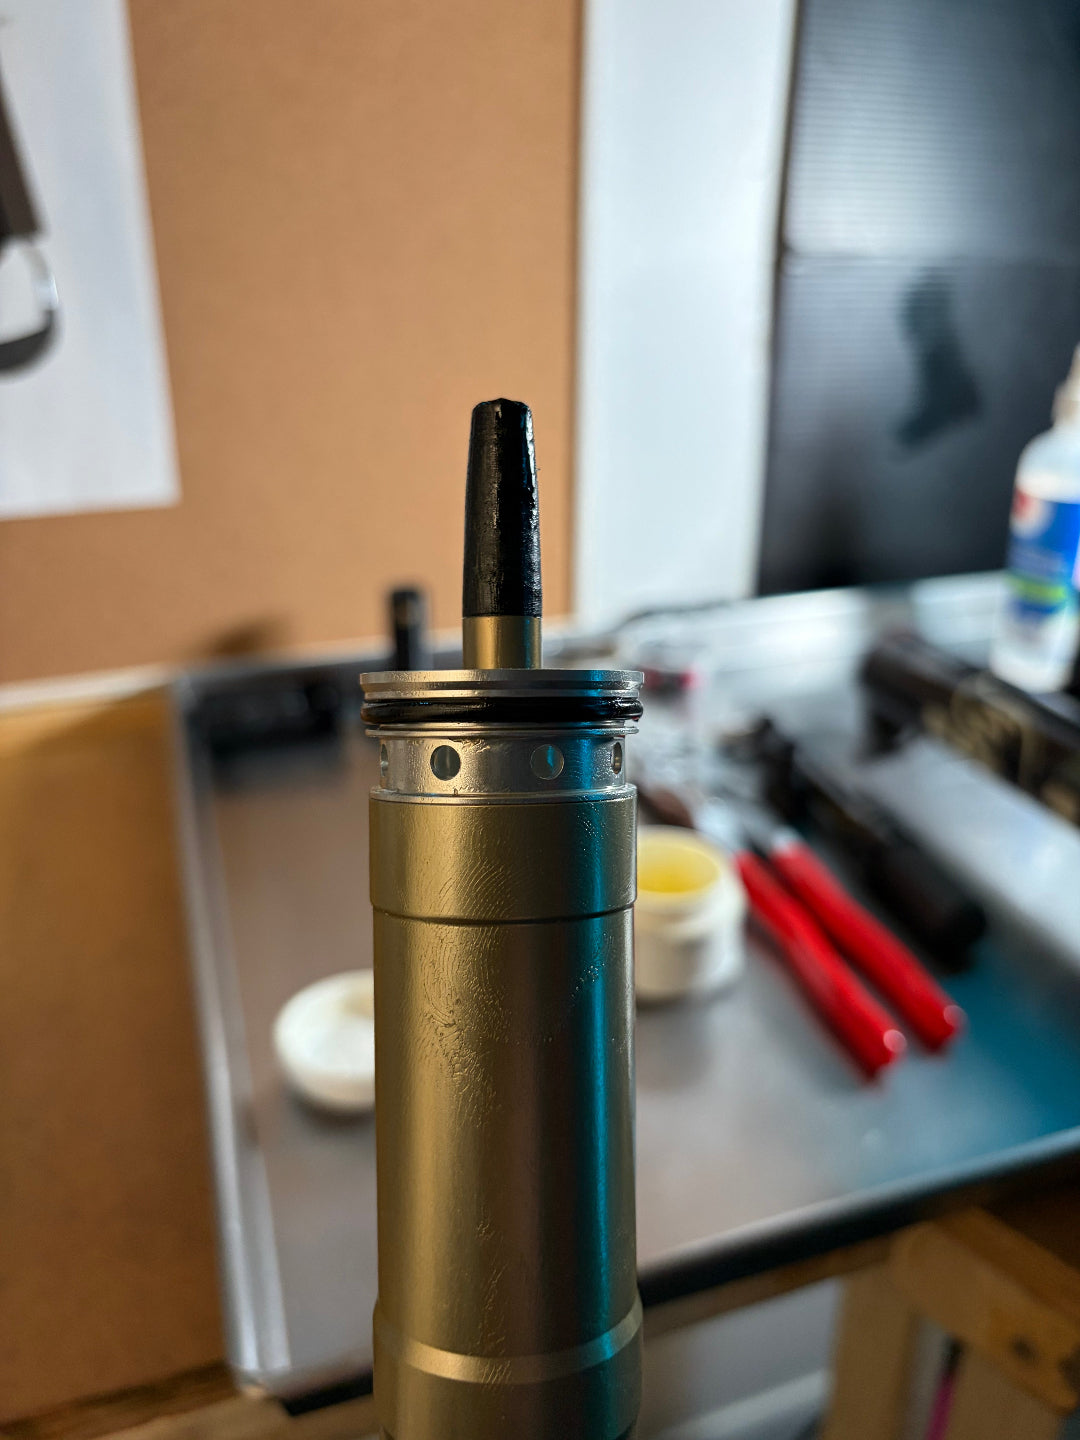
- Clamp 10mm shaft and remove rebound assembly (heat if needed)
- Install new sealhead + reassemble shaft
- Proceed to bleeding steps below
Bleeding the FIT RC2 Damper
- Turn LSC fully in, remove retaining ring (use magnet)
- Open LSC, HSC, and rebound fully
- Clamp damper upside-down and clean with isopropyl
- Fill halfway with oil
- Squeeze bladder for 5–10 minutes until firm
- Top off oil, insert shaft slowly
- Tighten to 8.5 Nm
- Invert, remove adjuster needle
- Bleed with syringe + 8mm tubing, stroke 15–30 minutes
- Verify all adjusters remain fully open
- Close LSC / open HSC to purge bypass
- Top off, reinstall needle + retaining ring
Final Steps
- Grease + reinstall detent spring and ball
- Confirm rebound and compression clicks feel normal
- FIT RC2 may not self-extend outside the fork (normal because the damper is not pressurized like a GRIP or Charger 3)
- Reinstall damper using a chamferless 32mm socket
Share